Tuesday, August 11, 2015

What to do when you don't have enough paper for everyone!

I have Stampin' Up! workshops at my house once a month, and one of my problems, is that I design a card and then I look and I don't have enough paper for everyone to do it EXACTLY the same 10 more times!   Especially with the DSP, there are only 2 sheets of the 'same' paper is pack, and depending on how many samples or trys I make, I might end up being short!  The gals that come like to make the card just like my sample, but sometimes....
I need to give out kits that are different papers, Stampin' Up! makes it easy as usually the pack of DSP coordinates well with each other, you can also turn over the paper to for a whole new design. That is what I usually do when I am at a class, I look at the sample then think, hmmmm, can I turn this over? Will it still work?
 Different words, but the same punch, and the 'shadow' punch behind is the same punch cut in half then pieced together so that just a part of the punch shows.

I used colored staples to hold the flap back on the front, and the leaves were die cut, while the flower was stamped then punched out.
This card the fold back was larger, maybe the yellow strip of DSP was thinner? and I used eyelets to hold the flap back, this leaf has 2 sizes in 2 colors for dimension.  I used the word window punch to punch out the words and the modern label punch to put behind the words.

The top 2 cards also used leaves punched from the Stampin' Up! bird punch so they have a stem and 'viney' look.

Don't be afraid to do a card different than the sample, the sample is just a guide, just an example, it is your card and ultimately all of the choices are up to you!

Thanks for stopping by!


Saturday, August 8, 2015

Same design, different colors

Same design, different colors! Certainly Celery and Blushing Bride, and So Safron and Ballet Blue I do believe!

I like them both!  I do like stamping on a whole sheet of paper, 8.5 x 11 creating my own background paper, you can cut them up into whatever shapes you need.  It is fun to experiment with colors and images to see what you like best.  I like the way I lifted and folded back the bottom left corner of the 2 sided DSP to reveal the 'back-side'.
 I used eyelets, they used to be all the rage, and now they have died out some what, but I have lots to use and do like to  use them.

The words are from an old Stampin' Up! set, and the fancy corners are from DOTS.  The flowers are from Stampin' Up! as I have LOTS of flower stamps!  Flowers and butterflies!  The BEST!

Thanks for stopping by!

Tuesday, August 4, 2015

Baby Boy card

 I made this card at Billie's house, her images and her words, I think the paper was mine, this is tri-fold or gate cad, the feet and words are attached only to the left side of the front.

We get so used to making 'regular' cards that we forget about these fancy folds and they are fun, and a cool way to use 2 kinds of DSP on the front.

The safety pin inside was a die cut that Billie had and I like the fancy corner punch on the inside.

Thanks for stopping by!

Sunday, August 2, 2015

Anniversary


This would make a great wedding or anniversary card.  Since my husband and I just celebrated our 34th anniversary I thought this was appropriate.  The background paper was the special paper from Stampin' Up! at Sale a Bration time, it was white paper with a white image embossed on it, then you add color via a brayer or sponges or spritzer.  Very cool paper, and they have a new set of designs in the catalog.

Many of the Stampin' Up! images, are large words are are great as they can be the focal point of the card and not need much else to complete the design.

Thanks for stopping by!

Tuesday, July 14, 2015

Masculine card 7-14-15

Today is a masculine card, I used the Stampin' Up! wood grain embossing folder (127821) for the background and used the Night of Navy card stock & ink. (100867 paper, 126970 ink)

The image is from a stamp set from my friend and fellow stamping enthusiast Jessica.  It is a retired set but there are so few masculine sets this would be a 'keeper'

Thanks for stopping by!

Sunday, July 12, 2015

July 12th 2015 butterflies away

 Love, Love, Love this butterfly thinlit from Stampin' Up! (137360) This is the largest image and it is almost too big for the standard card. I love the details!
 The background was done in the boekh (pronounced "bouquet") technique, white ink stamped in circles over the soft background of color.
Pearls add the body for the butterfly. I love the colors and this design.

Thanks for stopping by!

Wednesday, June 3, 2015

Blooming with Kindness take 2

Here is the same image as yesterday, even stamped in the same color, Melon Mambo, however I matted the image and verse with black and green card stock (not sure which green I used on this card)
I moved the verse to the middle instead of the right lower corner.

I do seem to be missing ribbon and/or button(s) but every card can't be perfect. Right?

Thanks for stopping by!

Monday, June 1, 2015

Blooming with Kindness

 This set, Blooming with Kindness #131961 is being retired by Stampin' Up! this year, I like the simplicity of the flower my favorite however are the words, I like the font they used a fancy script.

I used Melon Mambo ink and paper.  The embossing folder is called Arrows #132187.

I have another variation for my 'next' post.

Thanks for stopping by!

Saturday, May 30, 2015

Happy

It sounds easy, Be Happy!

Happy is more than a word, it is feeling, a state of mind, I truly believe that if you make it a point to be Happy, Happiness will find you, or you will find Happiness is your day to day situations.

I am not saying that I am always Happy, because I am not, but I do try to put forth the best attitude possible and most days I am Happy, and Happy things are in my line of sight.

This was was made at Bobbie's House, it was a card from Sherron's and I was not able to go to Sherron's that month, so Bobbie shared with me.  Love the colors, and the Happy feeling of the card!

Flower is from Petal Potpourri  #137141 with the coordinating punch Flower Medallion Punch 3137417, and the Happy is from the Hello You Thinlits Dies #137363.

Oh and Ribbon and Button are present!

Thanks for stopping by!

Thursday, May 28, 2015

Baby Girl

So the verse inside is for a little girl, however the colors are more inclined for a boy!

I used background paper outside and inside, and I turned the stripes opposite to show off the paper.  The front of the card was scored and folded back, and a coordinating background paper was adhered to the front.


 I made this card at Billie's house so the stamps are from her collection.

When I visit her house I like to use her images, because they are different from mine!


No ribbon or buttons on this one either!

Thanks for stopping by!

Tuesday, May 26, 2015

Lucky you

A pretty quick and easy design for today.  I love greens and always seem to be drawn to green, crafting, quilting, card making, clothes.  Green, Orange, Yellow, Pink  Hmmmm only missing orange on this card!

Flowers are from Flower Patch set #134207 which is a photopolymer set, so it is 'clear' so you can see where you are stamping and easily combine images (darker flower on top of the light pink flower)

Words are from Stampin' Up!  set is called And Many More #134273, set of 23 stamps that fit into a "word window" punch #119857, which makes for a super quick card, with this set you can create just about any "type" of card needed.  There is a companion set,, Tiny Tiny Wishes #128748 which is also very useful, however I do not current own that set.  I may need rectify that soon!

I am missing buttons and/or ribbon, but I think it turned out pretty good.

Thanks for stopping by!

Sunday, May 24, 2015

Beautiful things

I remember creating this at Billie's house so I am thinking the stamps are from her collection. I like the front being shorter than the back, so you can see the stamped image border on the inside.

Framelits or die's are so handy for matting images.  Of course I had to add a button & ribbon.

Thanks for stopping by!


Thursday, May 21, 2015

Postage due: 2nd card

This is the 2nd card I designed with the Postage Due stamp set from Stampin' Up!

I stamped the 'stamp' images on glossy card stock, punched them out, or maybe used a die cut as they are all even and the same, so I know I did not cut them by hand with scissors!

The card is slightly over sized because of the 3x3 placement of the images.

In addition to buttons, I LOVE ribbon, this is a Stampin' Up! ribbon that matches the card stock exactly.

Thanks for stopping by!

Tuesday, May 19, 2015

Postage Due

 This is a card I created for my November 2014 Stampin' Up! workshop.  When I design a card I try to make multiples so I can show how versatile the stamp set is, no telling if this was actually created at the class by everyone or not!

My friend, and upline Bobbie let me borrow this set and I had a good time working with it.

I was going for a collage feel, I liked the way it turned out.

I used a sponge to ink the white card stock with the yellow and green ink, then I stamped the images
 Always, always nice to use a button, they are one of my favorite accessories.

Thanks for stopping by!

Sunday, February 15, 2015

Baby season is upon us

Seems like babies come in cycles, either everyone I know is having one, or there are no babies at all!

Right now there are several friends and family members who are expecting.  Seems like when I need a blue card, all I have are pink ones, and when I need a pink one, whoops blue is all that is on hand.

So I decided to go green and yellow!  Of course if I know it is a girl, then I will want a pink card!
This is a retired Stampin' Up! set, I'm Here it also has feet images, I do like the way it turned out, I made a variation,  I used the Borderettes (133662) to create the background, I use 3 of the images on one block and repeated the lines across the card.  It has been one of my favorite sets to use as a background!
These words were just on my shelf, they were an unmounted stamp so I am unsure who makes the words.  Then I tried one more time!

This time ditching the yellow card stock and opting for white and green.  I used part of the embossed image Arrows embossing folder (132187) to make border down the left side.

On the inside of all cards, I kept it simple, Congratulations

Thanks for stopping by!

Saturday, February 14, 2015

Happy Valentines Day!

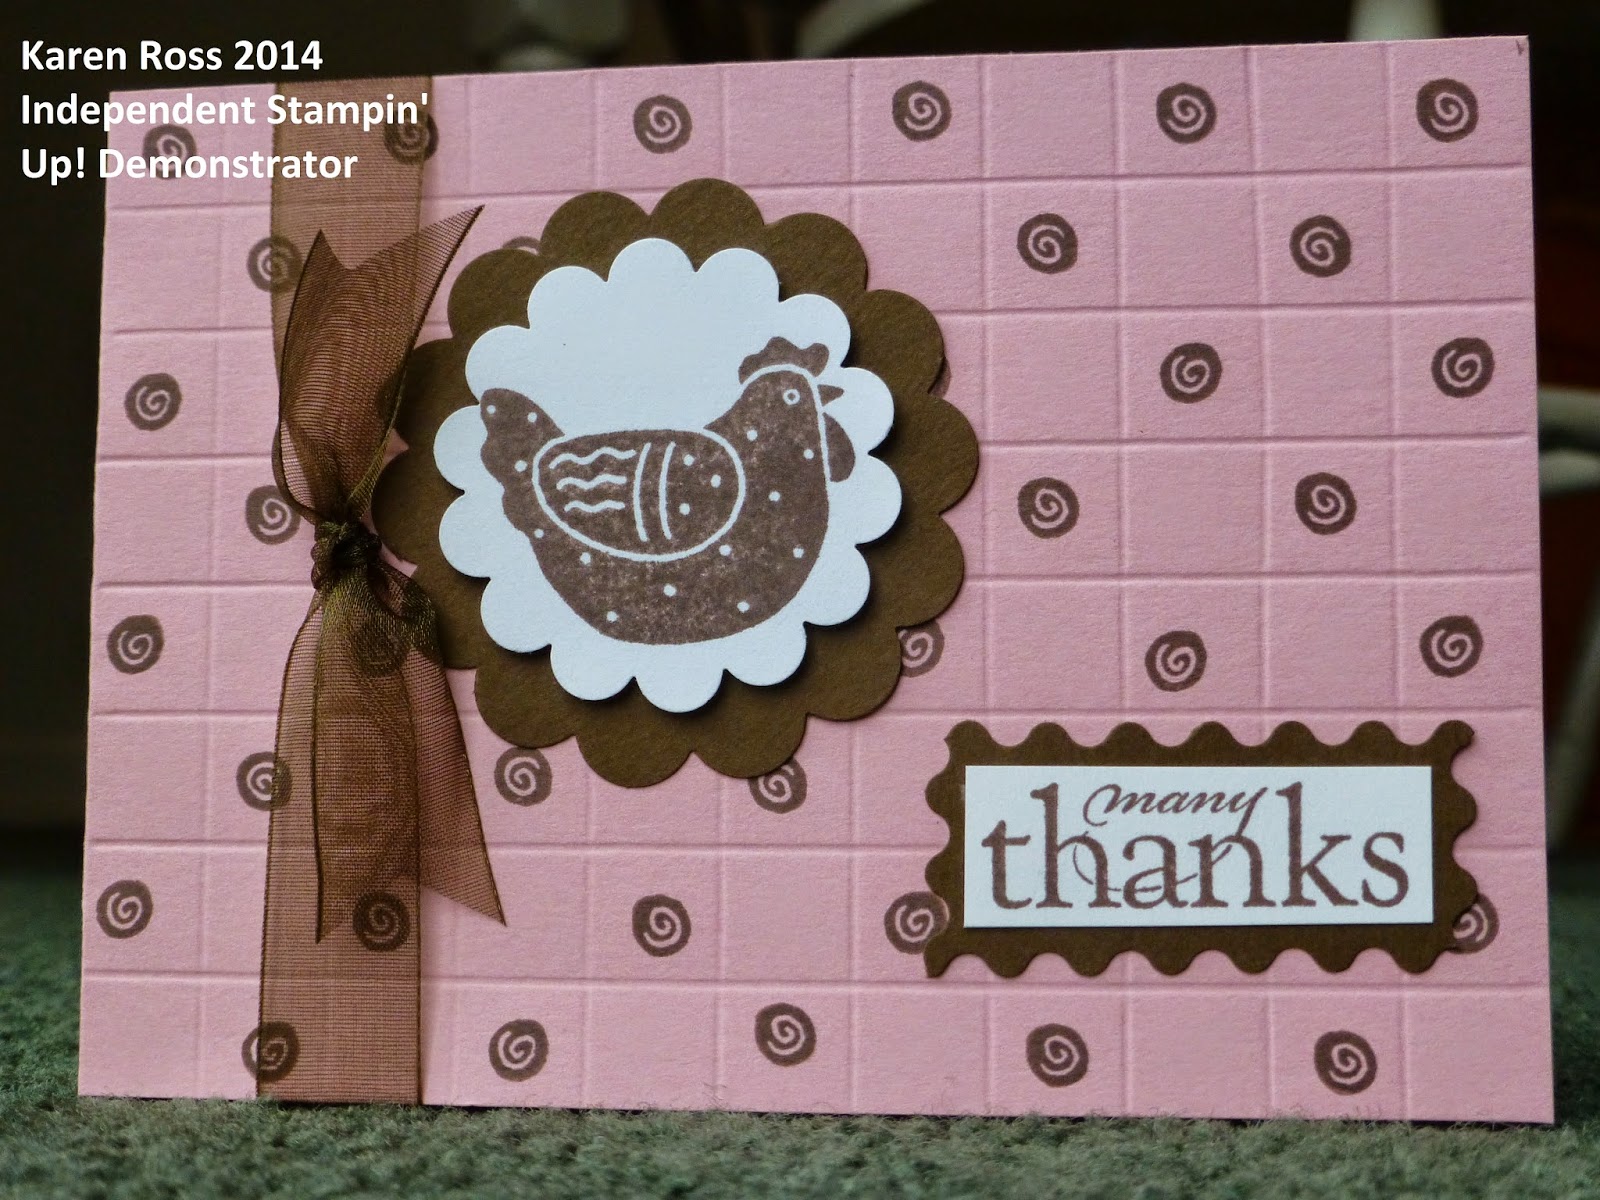
Today is Valentine's Day and I wanted to Post a 'Valentines' day card, so I went searching thru the photos on my computer and came up with this old one.  It is an Oldie and maybe NOT a goodie!  A retired Stampin' Up! set called Funky Favorites, it is one I have saved as I like the images, an overstuffed chair, a chicken a bird house, a very small cup of coffee, a coffee bean. and this heart and flower.  I embossed the hearts and flowers in brown embossing powder on a brown card, I punched out an oval near the top right side of the card, then I stamped the heart in pink and cut it out, this was way before die cuts and thinlits etc.  The Happy Valentine is an old Stampin' Up verse and I used the 'fancy' scissors to cut around it and added 3 white eyelets.

Most likely  NOT my best card ever, but it does say Happy Valentines Day!

I have been trying to sell my cards, so I have with me a small binder with a selection of cards for purchase, charging $3 each or 2 for $5,  So this year, I changed out all the cards and put in Valentine cards and I sold 4 cards this week, to my co-workers, but sold them non the less!  I was pretty happy.  I cut white copy paper slightly smaller than the card and stamped on it the Happy Valentine's Day verse, then I can simply glue the folded sheet into the card, so I was able to put in cards that were not specifically Valentine's Day, but certainly could be. This also prevented me from having so many Valentine's  left over, now that they are not sold, I can still use the cards as Thank you's or birthday or whatever I need.

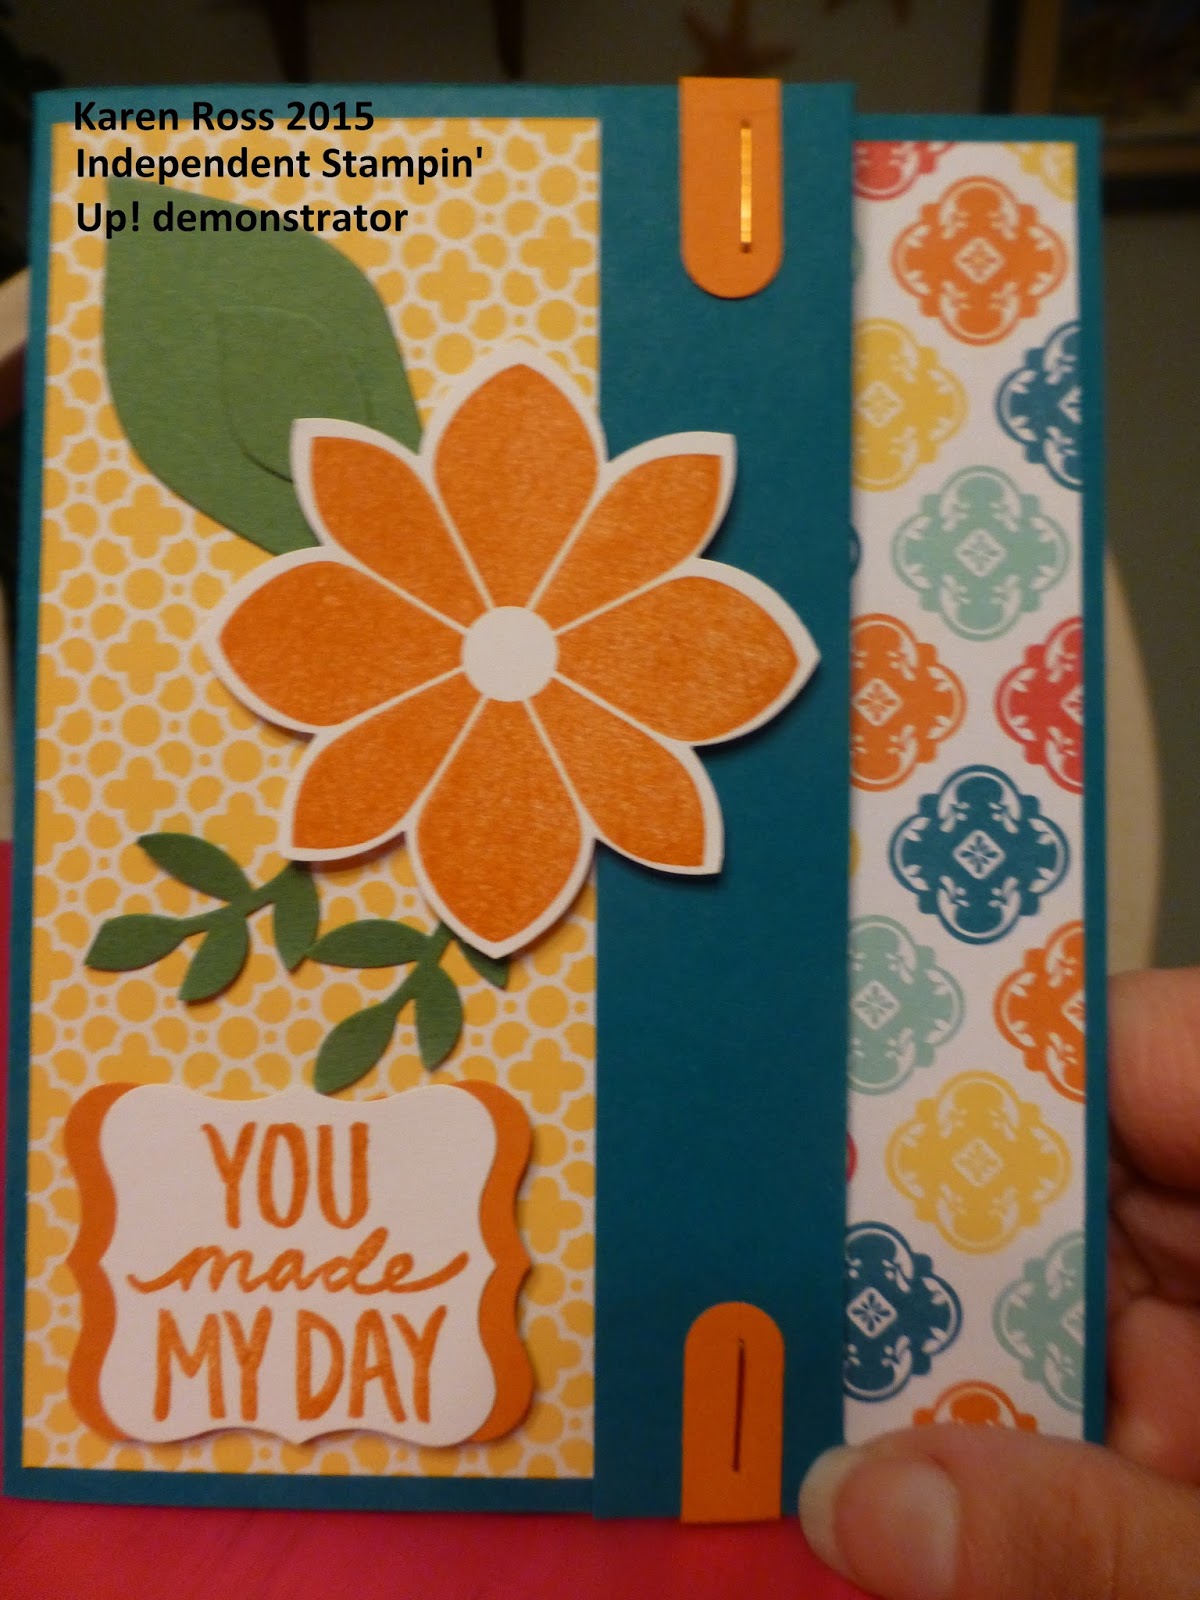
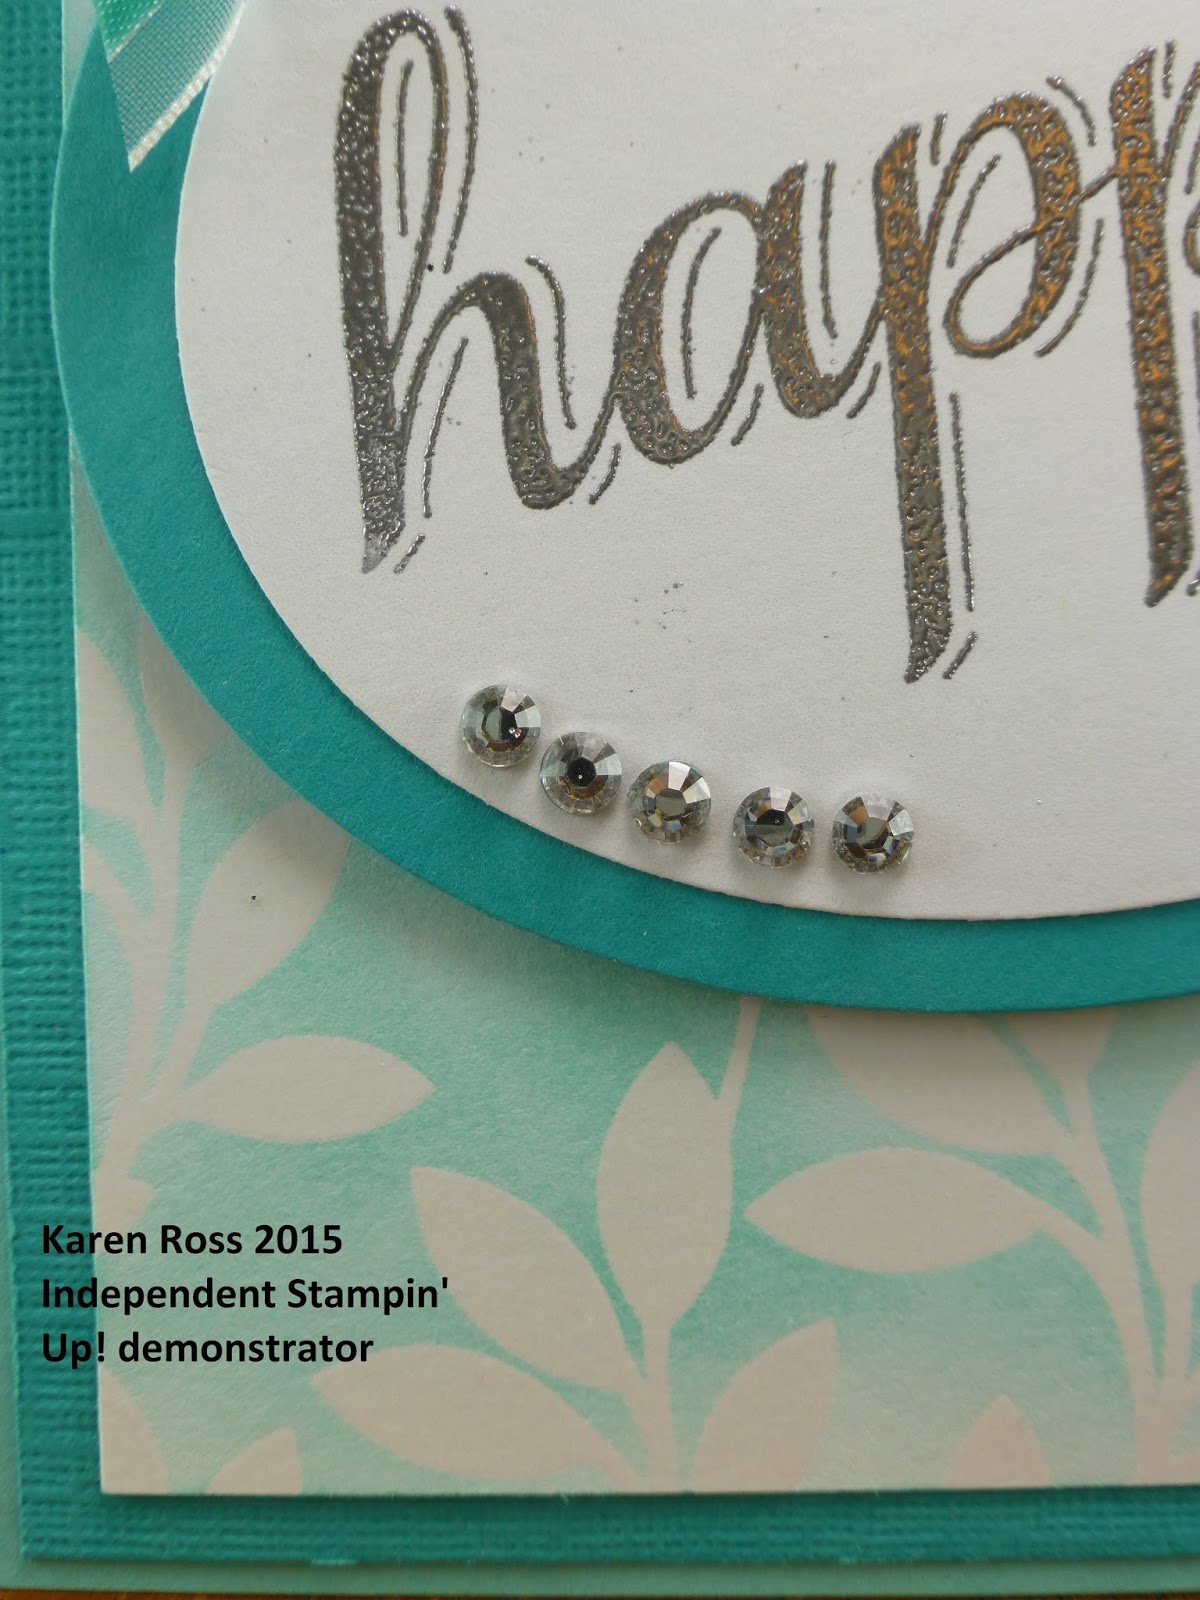
I also do not like specific Valentines, and certainly not red and pink ALWAYS,  I stamped at Billies on Super Bowl Sunday and I took a pack of DSP and some coordinating cardstock and made a few cards, using her Valentine type verses I like the results.


Then I came up with


Again not traditional Valentine's day colors, but I like them, now unfortunately these are specific to Valentine's day and they did NOT sell this year, so I will have them around for next year, although I do need a card for my beloved today....

Thanks for stopping by and 'listening' to me ramble.

Happy Valentine's Day to you!

Tuesday, February 10, 2015

Scallop punches


I do love using the scalloped punches.  It is an easy way to frame an element, and if you have 2 sizes you can "frame" the design.  I used the Scoring board to make the background on the chicken card then stamped in checker board fashion the brown swirly elements.  Add a bow and a simple sentiment and Voila it's done.

Stampin' Up! created the blue flower image using the punches, how clever of them!  I like it as it add dimension.  I used the paper piercing tool to create lines of 'stitching' and again a simple sentiment.  I tied 2 pieces of ribbon to the corner of the square where I mounted the flower and again it's done.

Both of these layouts would work great with other stamped images and color combinations.

Thanks for stopping by!

Sunday, February 8, 2015

This is what Crafty looks like...

This is what Crafty looks like at my house. Kitchen table strewn with all kinds of supplies. These were projects from last months stamping/card making workshop, these were the left over kits I had made up.  Before I put everything away I decided to put together a few projects.  I changed up the colors and images and like how they all turned out.

When I get ready to design a card for my workshops, one of my major thoughts is "do I have enough paper, embellishments, ribbon etc for everyone?"  If not then I have to tweek the design to fit the supplies I have on hand.

I usually like to create several samples to show everyone 'other ideas' to use the same stamp set, and sometimes it takes me several versions to come up with exactly what I want.

Thanks for stopping by!

Monday, February 2, 2015

Hello February!

Yes it has been a bit since I posted last, however just because this is a Christmas Card does not mean that you missed most of 2015!  After all it has not been THAT long since I posted!

This past week was extremely hectic, I think I was only home immediately after work only 1 day, Monday!
This Snowflake set is an older set, but I have held on to it because it is a good set.  Actually it is called Snowflakes and has several different sizes of Snowflakes.

I used the Real Red Card Stock and Ink, along with Always Artichoke Card Stock and Ink.  The ribbon is from Stampin' Up! but you guessed, no longer available.

I do like the Six Sided Sampler (130953) stamp set, I thought the stripe looked like candy canes. After I punched out the hexagons, I used Stampin' Dimensions (104430) pop them up.

It is a fairly simple card which is great for a Christmas Card especially if you are going to create multiples.

Thanks for stopping by.

Monday, January 19, 2015

Swap card/Cherry Cobbler

I hope you are enjoying your Martin Luther King Holiday today.  This is holiday that is not observed by our office, so I am at work today!
 This is a swap card I designed to take to Sherron's to swap with her, and  her other down lines.  The theme was embossing powder, so I purchased Cherry Cobbler embossing powder and silver ribbon, Assuming I would design a Christmas Card.  HA! best laid plans of mice and men (umm women)

I used embossing folder Honeycomb  (129378) on Cherry Cobbler card stock, then adhered it to a white folded card.  I wrapped bakers twine/cherry cobbler (123125) around the card twice and tied a bow.  (decided I did not like the sillver ribbon) I embossed, with the cherry cobbler embossing powder (122949) the flower image from Six Sided Sampler (130953)

I do not have the coordinating punch Hexagon (130919) so I cut each image by hand, pretty simple based on 6 straight cuts.  I embossed the My Friend from the same stamp set and punched it out using the Modern Label punch (119849)
I arranged the cut/punched images on the right side of the card and used Stampin' Dimensionals (104430)  (One of my favorite things to use on a card/project) to give them a lift.

I guess I was just not in the mood for a Christmas Card on this particular day, even though Cherry Cobbler would make a GREAT Christmas card.

Thanks for stopping by!

Saturday, January 17, 2015

Weekend.... ahhhhh

The weekend is here, they predict rain for us today!  Imagine that!

This card was one that was made at Bobbie's house in November.  I like the colors and the design.  This is my first time using the sequins on a card, I like the little sparkle they add.

Thanks for stopping by!

Thursday, January 15, 2015

Baby it's cold outside!

 Mittens, mittens!  Mittens or gloves can be found in EVERY pocket of EVERY jacket I own, you just never know when they will be needed.  Some of them are homemade knitted, some are the 'one size fits all' mittens that come in 2 packs at K-Mart, makes no difference, you must have mittens!

I found this Stampin' Up! punch on the clearance rack and just had to have it.  We used it on the card, punching it twice, once with the designer series paper then again with white for the tips,  we added green ink to the edges using a sponge. 2 short piece of grosgrain ribbon were looped over and added at the edge of the red panel, gave it a little interest against the white card base.
 The big shot and embossing folders make for a great background.  We tied the mittens together with the bakers twine and adhered them to the card front.  The words are a very old Stampin' Up! set but I like the large simple Merry Christmas.
Inside, we took the punch of the mitten and put it on the corner, then used green ink on  a sponge to sponge around the mitten to make a cute accent inside.

Thanks for stopping by.