Monday, December 5, 2016

Calendar pages from 2016 completed

Created by Seriny

Here are the last 4 pages from 2016.

Each page was different, awesome and reflected the personality of each crafter.

I look forward to receiving and creating the completed calendar pages for 2017.

In 2016 you might have noticed several pages created by me, which was great, I actually received 3 completed calendars this year!

As I got players for 2017 I realized that more excitement was created and there was NOT room for me to create even 1 page!  This makes me happy as I like to see others get excited by crating/stamping!

This is a hobby that I enjoy very much and am glad that I am able to share my love of crafting with so many people!

Created by Bobbie


Created by Karen (me)

Created by Gloria

Monday, November 28, 2016

Second set of Calendar pages 2016

Created by Karen (me)
 Good Morning!  Continuing with the calendar pages from 2016.  These pages were created by my stamping friends in Washington.

Appears that my photos were added in mixed up order!

Hope you enjoy the next 4 months of pages!
Created by Diane

Created by Jessica

Unsure who created, back not marked

Thursday, November 24, 2016

I believe this was created by Mary (not marked on the back!)
 Happy Thanksgiving 2016!

YIKES! it has been a looooong time since I posted anything on this blog. I guess life has gotten in the way of blogging.

I am preparing to complete the Calendar Project for 2017 and I discovered I had taken these photos back in November 2015 so I could show off the calendar pages that were created for 2016.  As we approach the end of 2016, I thought what the heck lets post these pages!

Created by Carla
I got involved with creating calendar pages with a friend who I got to know via the internet and a stamping club on Yahoo, Bonnie.  She has a group of friends who create 12 pages all the same, give them to 1 friend who compiles the pages into a calendar.  You submit 12 pages all the same and get back a completed calendar! How awesome is that!

I have joined Bonnie and her friends for several years and the shape of the calendar has changed as the years passed.  This current format is what we currently use.
Created by Anita
 1/4 sheet of card stock as a base, usually set on Landscape and the rest is up to you.  Using rubber stamps, DSP, embellishments, stickers whatever.  We ask the that top 1/2 inch or so be free of bulky embellishments as we need room to insert the page into the binding machine!

I began stamping with Bobbie, a Stampin' Up! demonstrator and eventually joined Stampin' Up! as a demonstrator myself.  She has a great group of ladies who stamp with her, once amonth so I presented the calendar idea to them, and they love it!  So these pages were created by my friends from Washington.
Created by Karen (me)
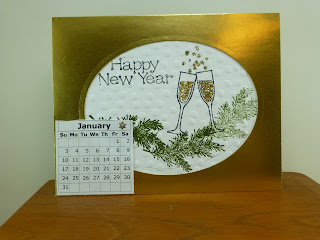
I have selected the first 4 months from 2016 to show today.  These designs are all great, you never know what kind of page will be created, sometimes the page corresponds with the Holiday for that month, others are just fun.

I hope you enjoy seeing the pages, I always look forward to seeing what each crafter creates, and enjoy using my calendar at my desk at work and on my craft table at home!

I hope you have a GREAT Holiday Season, Thanksgiving, and then Christmas!

2017 Here we come ready or not!

Tuesday, August 11, 2015

What to do when you don't have enough paper for everyone!

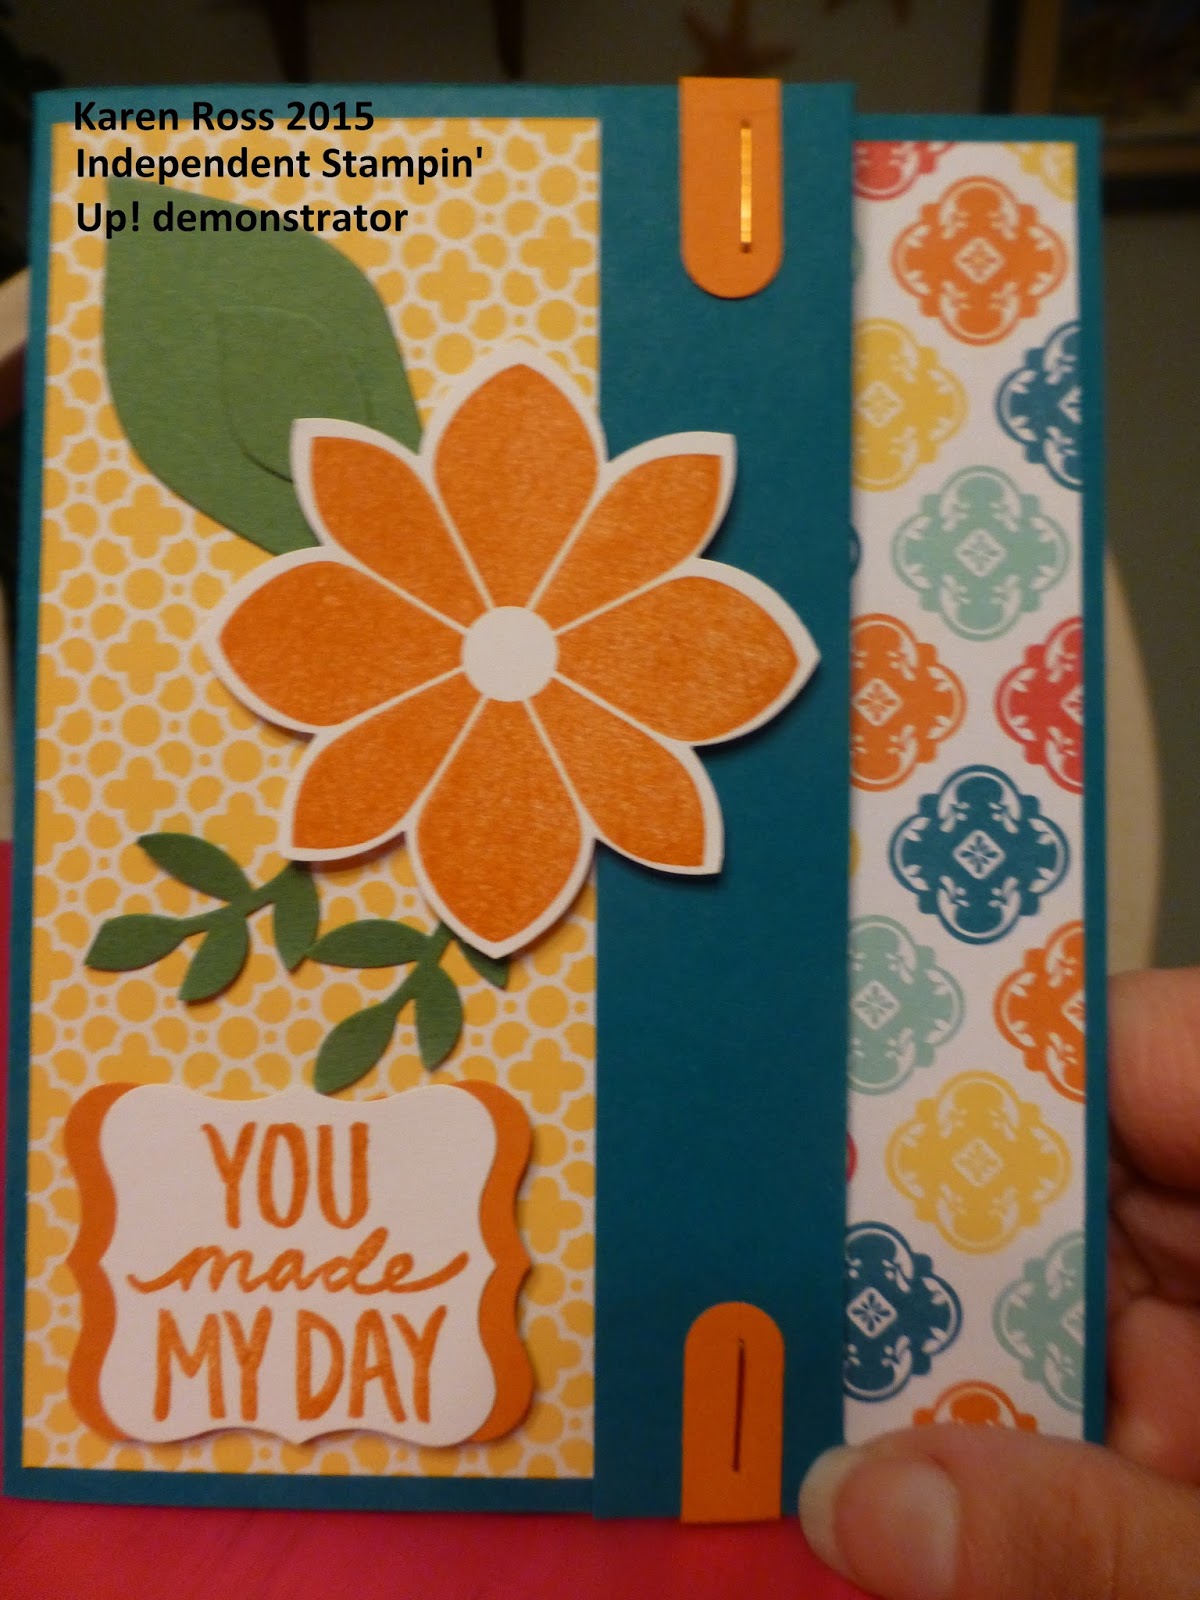
I have Stampin' Up! workshops at my house once a month, and one of my problems, is that I design a card and then I look and I don't have enough paper for everyone to do it EXACTLY the same 10 more times!   Especially with the DSP, there are only 2 sheets of the 'same' paper is pack, and depending on how many samples or trys I make, I might end up being short!  The gals that come like to make the card just like my sample, but sometimes....
I need to give out kits that are different papers, Stampin' Up! makes it easy as usually the pack of DSP coordinates well with each other, you can also turn over the paper to for a whole new design. That is what I usually do when I am at a class, I look at the sample then think, hmmmm, can I turn this over? Will it still work?
 Different words, but the same punch, and the 'shadow' punch behind is the same punch cut in half then pieced together so that just a part of the punch shows.

I used colored staples to hold the flap back on the front, and the leaves were die cut, while the flower was stamped then punched out.
This card the fold back was larger, maybe the yellow strip of DSP was thinner? and I used eyelets to hold the flap back, this leaf has 2 sizes in 2 colors for dimension.  I used the word window punch to punch out the words and the modern label punch to put behind the words.

The top 2 cards also used leaves punched from the Stampin' Up! bird punch so they have a stem and 'viney' look.

Don't be afraid to do a card different than the sample, the sample is just a guide, just an example, it is your card and ultimately all of the choices are up to you!

Thanks for stopping by!


Saturday, August 8, 2015

Same design, different colors

Same design, different colors! Certainly Celery and Blushing Bride, and So Safron and Ballet Blue I do believe!

I like them both!  I do like stamping on a whole sheet of paper, 8.5 x 11 creating my own background paper, you can cut them up into whatever shapes you need.  It is fun to experiment with colors and images to see what you like best.  I like the way I lifted and folded back the bottom left corner of the 2 sided DSP to reveal the 'back-side'.
 I used eyelets, they used to be all the rage, and now they have died out some what, but I have lots to use and do like to  use them.

The words are from an old Stampin' Up! set, and the fancy corners are from DOTS.  The flowers are from Stampin' Up! as I have LOTS of flower stamps!  Flowers and butterflies!  The BEST!

Thanks for stopping by!

Tuesday, August 4, 2015

Baby Boy card

 I made this card at Billie's house, her images and her words, I think the paper was mine, this is tri-fold or gate cad, the feet and words are attached only to the left side of the front.

We get so used to making 'regular' cards that we forget about these fancy folds and they are fun, and a cool way to use 2 kinds of DSP on the front.

The safety pin inside was a die cut that Billie had and I like the fancy corner punch on the inside.

Thanks for stopping by!

Sunday, August 2, 2015

Anniversary


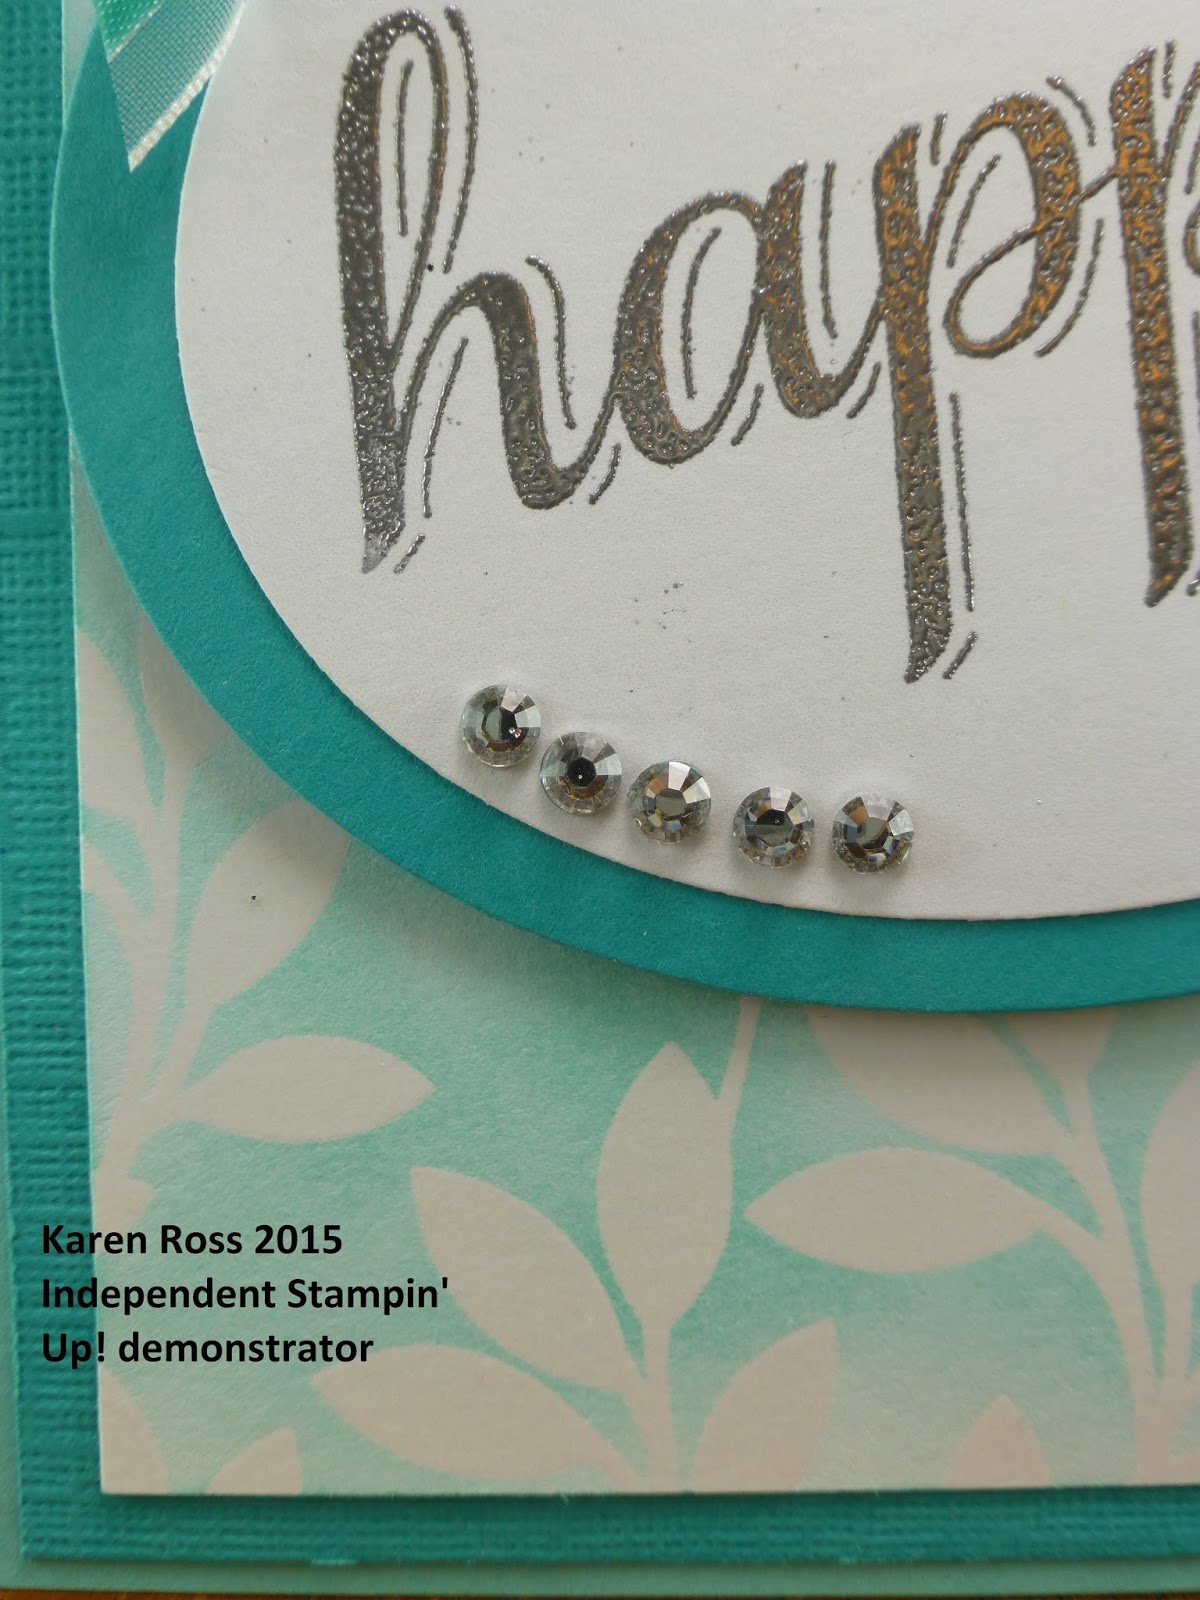
This would make a great wedding or anniversary card.  Since my husband and I just celebrated our 34th anniversary I thought this was appropriate.  The background paper was the special paper from Stampin' Up! at Sale a Bration time, it was white paper with a white image embossed on it, then you add color via a brayer or sponges or spritzer.  Very cool paper, and they have a new set of designs in the catalog.

Many of the Stampin' Up! images, are large words are are great as they can be the focal point of the card and not need much else to complete the design.

Thanks for stopping by!